Before I started taking Graphic Design classes, I was the kind of person who would take photos and never edit them. I simply took the photo, saved it on my phone and moved on. But after taking a few classes, I realized just how important it is to edit those photos once taken.
Some people may think that because you edited an image it is no longer “real” and to that, I say it is not a matter of capturing an event exactly how your eyes see it. It is close to impossible to even capture an event exactly as your eyes see it because your camera’s lens will produce a slight distortion to an image. Your camera does not have the capability of reproducing what your eyes see because it takes more factors like what the person was feeling and thinking at the moment the photo was taken. This is where you or a designer steps in to try to come close enough, if not better, at reproducing what your eyes see.
Editing a photo will improve the overall quality, look, and feeling of the image. Let’s say you took a photo and it was overexposed, but you liked the composition and subject of the photo. That is where programs like Lightroom and Photoshop can help you edit an image that perhaps was going to be deleted, and turn it into an image you can keep as a memory.
In the end, photos are taken to create memories or document a moment in time. It is oftentimes a form of art as well. Editing those images will prevent you from having to do a lot of retakes and delete good memories.
Max Pixel is a free public domain website that contains many stock images with free download versions of the image. The sizes depend on the type of image, but usually, once you click on an image the dimensions will show up right next to it. Although it is free, that doesn’t mean it is always the case. Each image might have different requirements, some may say free for commercial use but that you need to include the link of reference. With that being said, always read everything to be on the safe side.
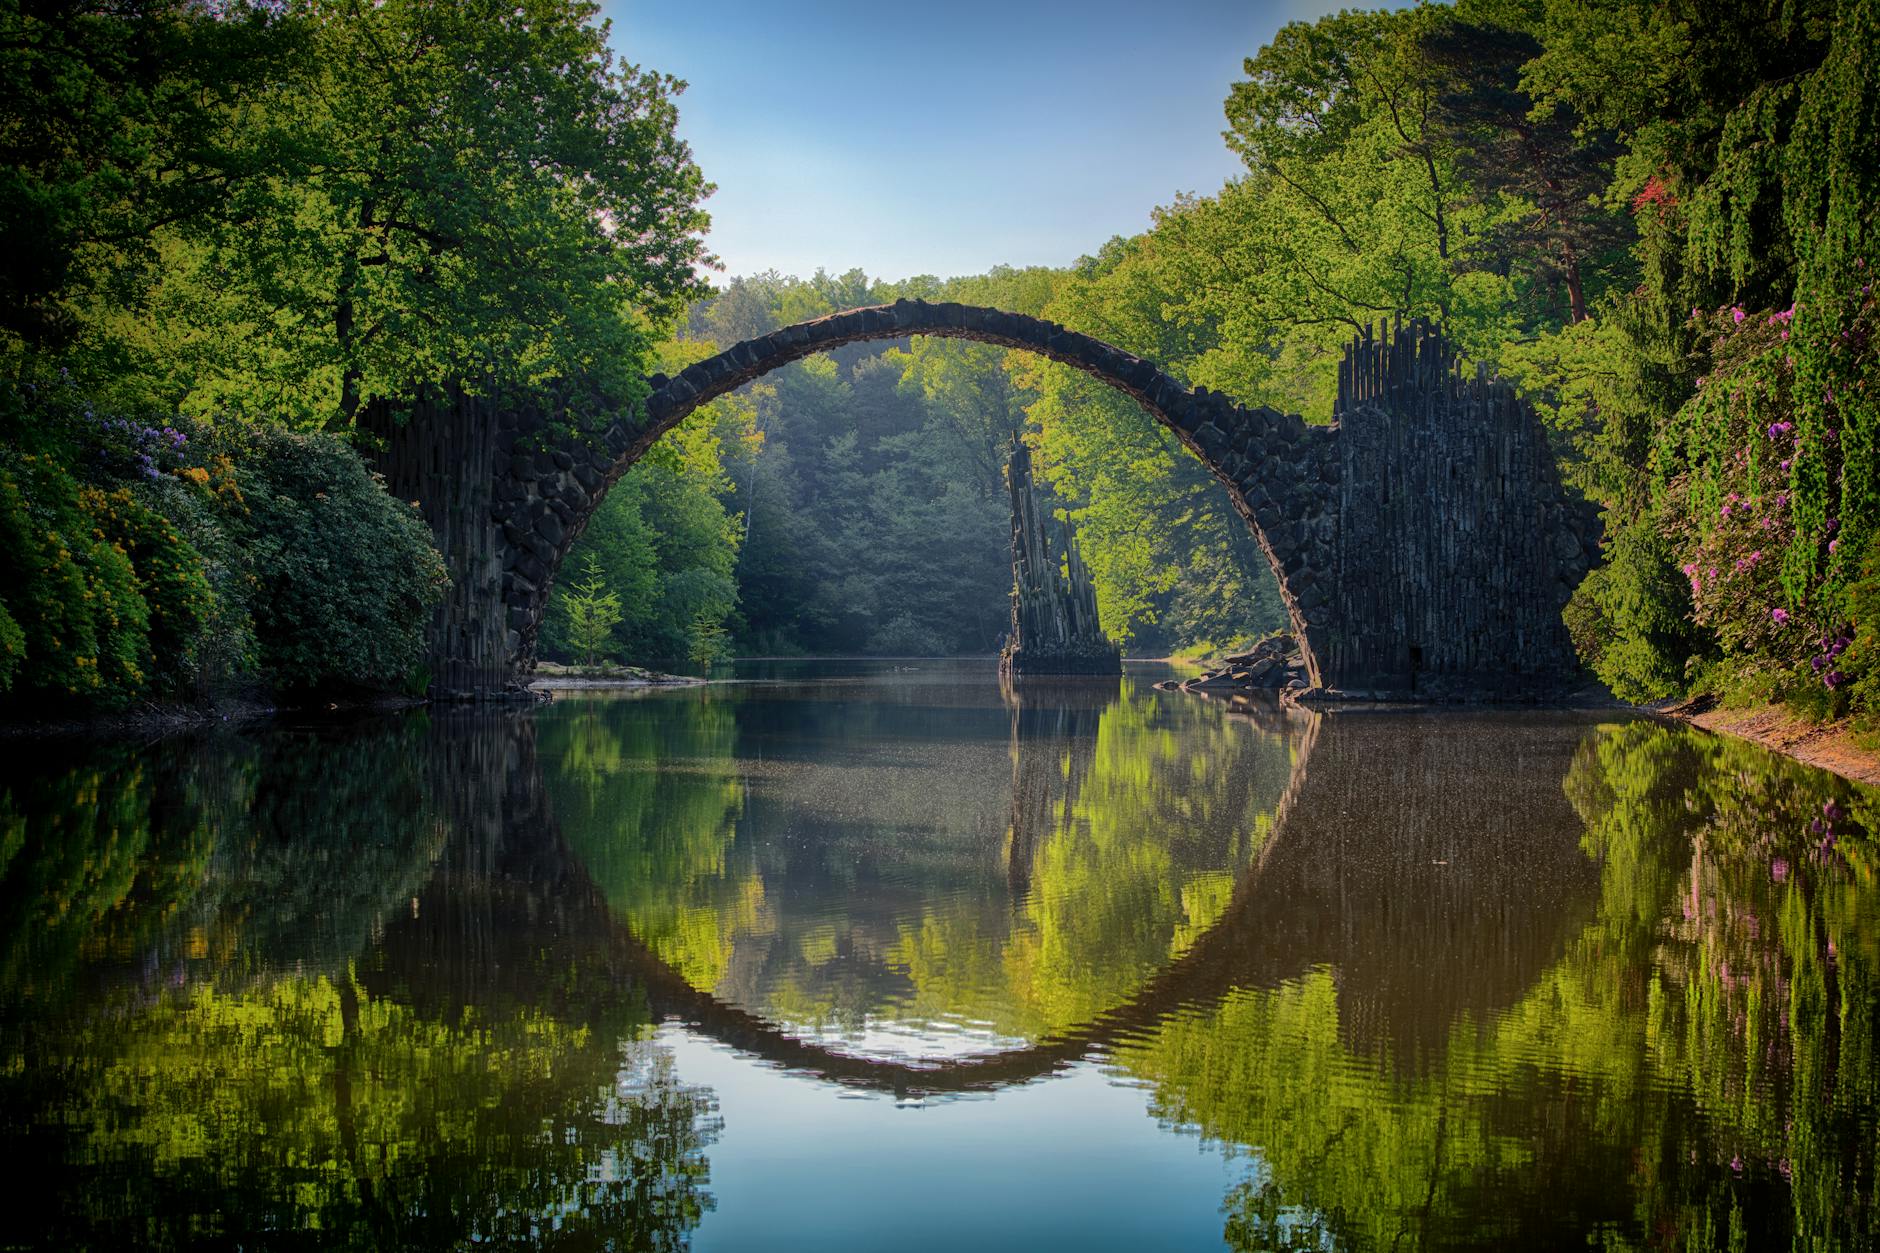
Pixabay is similar in the sense that the image sizes vary depending on the photo. It provides free downloads of the images, but each may have a different requirement. Like the image above said free for commercial use, but no attribution was required.
This one isn’t free, you have to pay for a license to use the images and be able to download them. Prices and sizes vary depending on the image, so far the common ground that I have seen is $12. The most I have seen is $33, but prices depend on the artist. And as you have noticed, I did not include an image for this one because all images are watermarked from this website and again not free. The license states that you can use their images for any purpose like advertising, business, personal, or commercial use. Again, one of those things you should carefully read because it may be different depending on the image.
This one is free to use and free to download. The licensing on this one seems too good to be true as it allows you to use all images for commercial or noncommercial purposes without the need to ask the photographer for permission or give credit to the photographer, though it is appreciated. This one you have to do a little more digging when it comes to finding the information for each image, but sizes vary depending on the image.
This was my favorite website when I had my general education class in my first two semesters of college because I needed to blog a lot for those and needed a lot of visuals. These websites allow you to do a more advanced search for your images, you can search them based on licensing, what you intend to use the photo for, and what source you would like the image to come from. This is a free public domain website so most images you find here can be used for any purpose and can be modified as well.
This site isn’t free, but they do have specials for first-time users where you have a period of a week for free downloads before you start paying for certain image downloads. This site provides various sizes per image as well as different types of licenses whether it be for print or web use.
Adobe provides a program where you have access to stock photos as a monthly subscription. This is not a part of the Adobe Creative Cloud and must be paid separately. You get a free trial period for 30 days and after that, it will be $29.99 a month. There are different licenses that they provide, but all of them extend you the right to use any asset based on certain terms and you cannot let anyone else use it without them buying a license from Adobe. If the license is not what you are looking for, some images allow you to buy an extended license for other uses.
This website is free to use and provides free downloads of images. The license allows you to modify the images and use them however you would like, but you are not allowed to then sell the images on other stock photo websites. Various other restrictions can be found on the website. Sizes depend on the image and the photographer who uploaded said image.
This one is little on the pricey side and more limited in terms of how many photos you can get. You can get a monthly or annual subscription with many different options as to how many images you can download. There is also the option for paying as you go, images start at $3.oo and videos start at $15.oo. Pricing can also vary depending on the size of the image you are getting.
Lastly is Burst which is also a free image download and it is free to use the website. The license allows you to modify the images and use them for commercial or non-commercial purposes. You do not need to give credit to the photographer, but it is advised to do so. The image sizes are more limited in terms that it only gives you a low resolution or a high-resolution version of the image.
Everything must begin somewhere, so for me to go into talking about being a student I must first begin as to why I wanted to study Graphic Design. As a child, I always enjoyed drawing and art. I remember that my father used to draw and paint cartoons on the walls of our room and somehow from that memory I was influenced to start going down an artistic career path. Of course when I started it was messy doodles and stick figures, so I slowly developed my skills overtime by taking art classes in high school and looking at tutorials on Youtube. To this day I still have the mentality of my artwork not being good enough, but I feel that is a mentality many artists carry.
My interest in Graphic Design began during my freshman year of high school when I took a Digital Design class. My teacher was possibly the best teacher I had in years. She supported me, gave me advice on how to improve my projects, became a friend and mentor to me. I was terrified to start her class because I was not good with computers nor did I know a thing about Digital Design, but that was the main reason of taking the class which was to learn more about it. I ended up loving and enjoying myself in that class which is why today I want to pursue Graphic Design as a career. The picture below is of a typographical portrait project I created in her class, the one project that gave me much struggle because I went past the deadline and needed an extension because my perfectionism took over me. Thinking about it now, I see where I could have cut down my time and not focus too much on the minor details. This project could still be improved, but I was pretty satisfied with the outcome. Sadly the formatting was a little off because it was a copy of an old file that I no longer have access to since it was saved on a student email of my old high school.
Typographical Portrait done in Illustrator of a Kotori Minami Cosplayer. Created Sophomore Year of High School in Digital Design II
I am still not quite sure where I want to narrow down my focus for my future career as a Graphic Designer. I came to the thought that pursuing an Associate’s Degree in Graphic Arts and Design will give me many options to explore and learn about which will allow me to find what I enjoy the most.
My first course is Digital Video and Audio Editing. This subject was not one that I was super excited about because I was not interested in this aspect of Graphic Design, but I do enjoy films. The way certain films are edited catches my attention as some scenes are predominantly better than others. Video editing was something that I wanted to learn as more of a hobby rather than a career, so I am looking forward to that aspect of this course. However, I am the type of person that avoids being on camera as much as possible, so that is something that will be troubling but I know I need to improve on.